TEST TAKER SUPPORT
Your guide to REMOTEi
We’ve designed REMOTEi to provide you with an intuitive, easy-to-use remote testing experience. Follow the steps below to seamlessly launch REMOTEi and begin your exam.
If you need any help, we’ll be here every step of the way.
Review the Technical Requirements
| Type | Minimum | Recommended |
|---|---|---|
| PC | Windows 7 | Windows 10 |
| MAC | OS X 10.5 or Higher | OS X 10.13 High Sierra |
| Webcam | SD Video (640×480) | HD Video (1280 x 720) |
| Quality | SD Video (640×480) + HD Audio | HD Video/Audio (1280 x 720) |
| Speed (down/up) | 540 Kbps VP8 / H.264 | 1,500 Kbps VP8/H.264 |
| RAM | 1024 MB | 2 GB or higher |
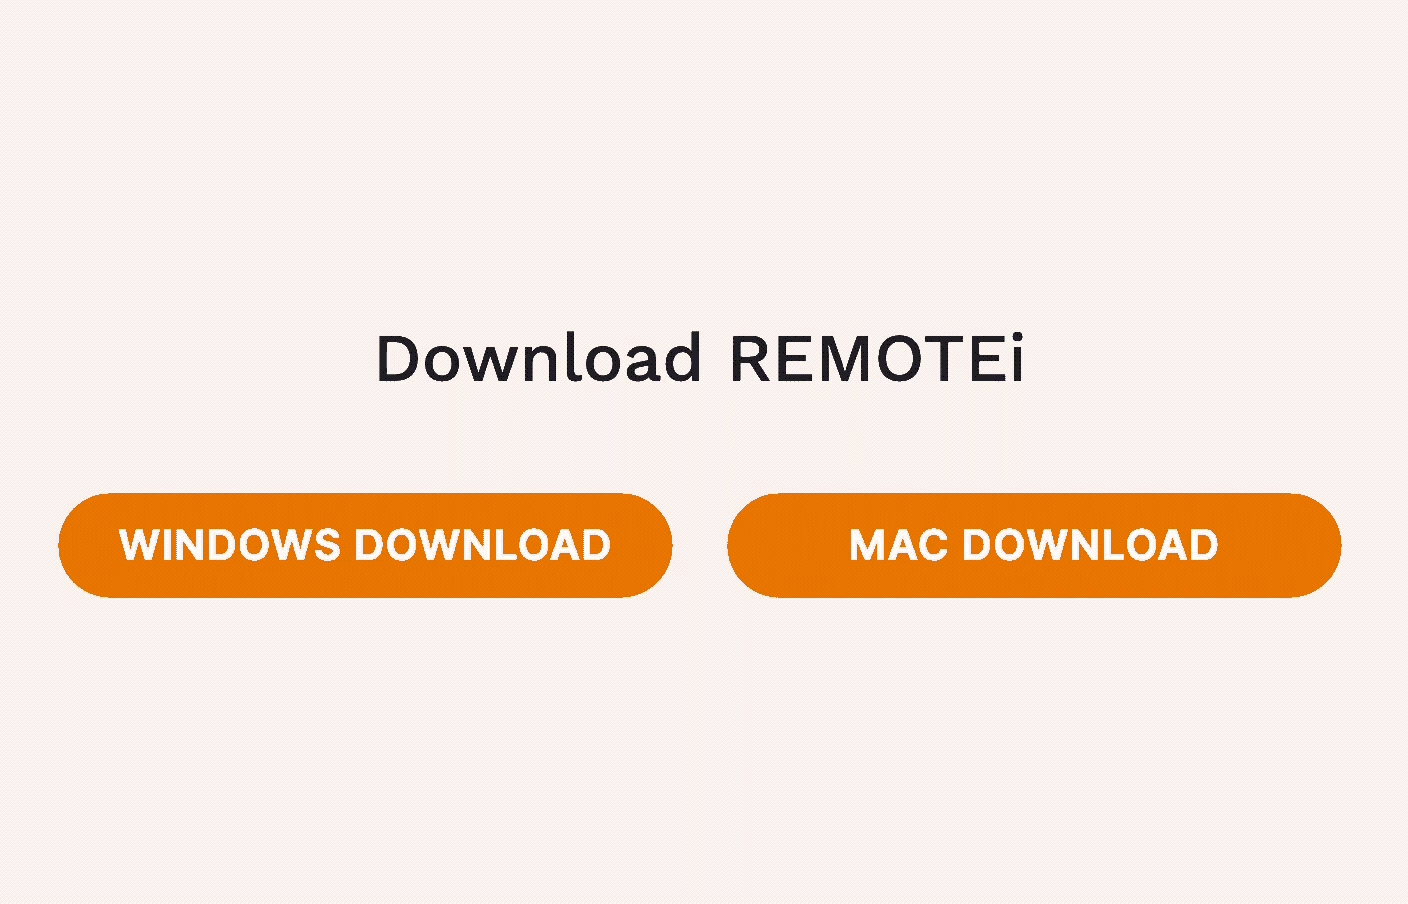
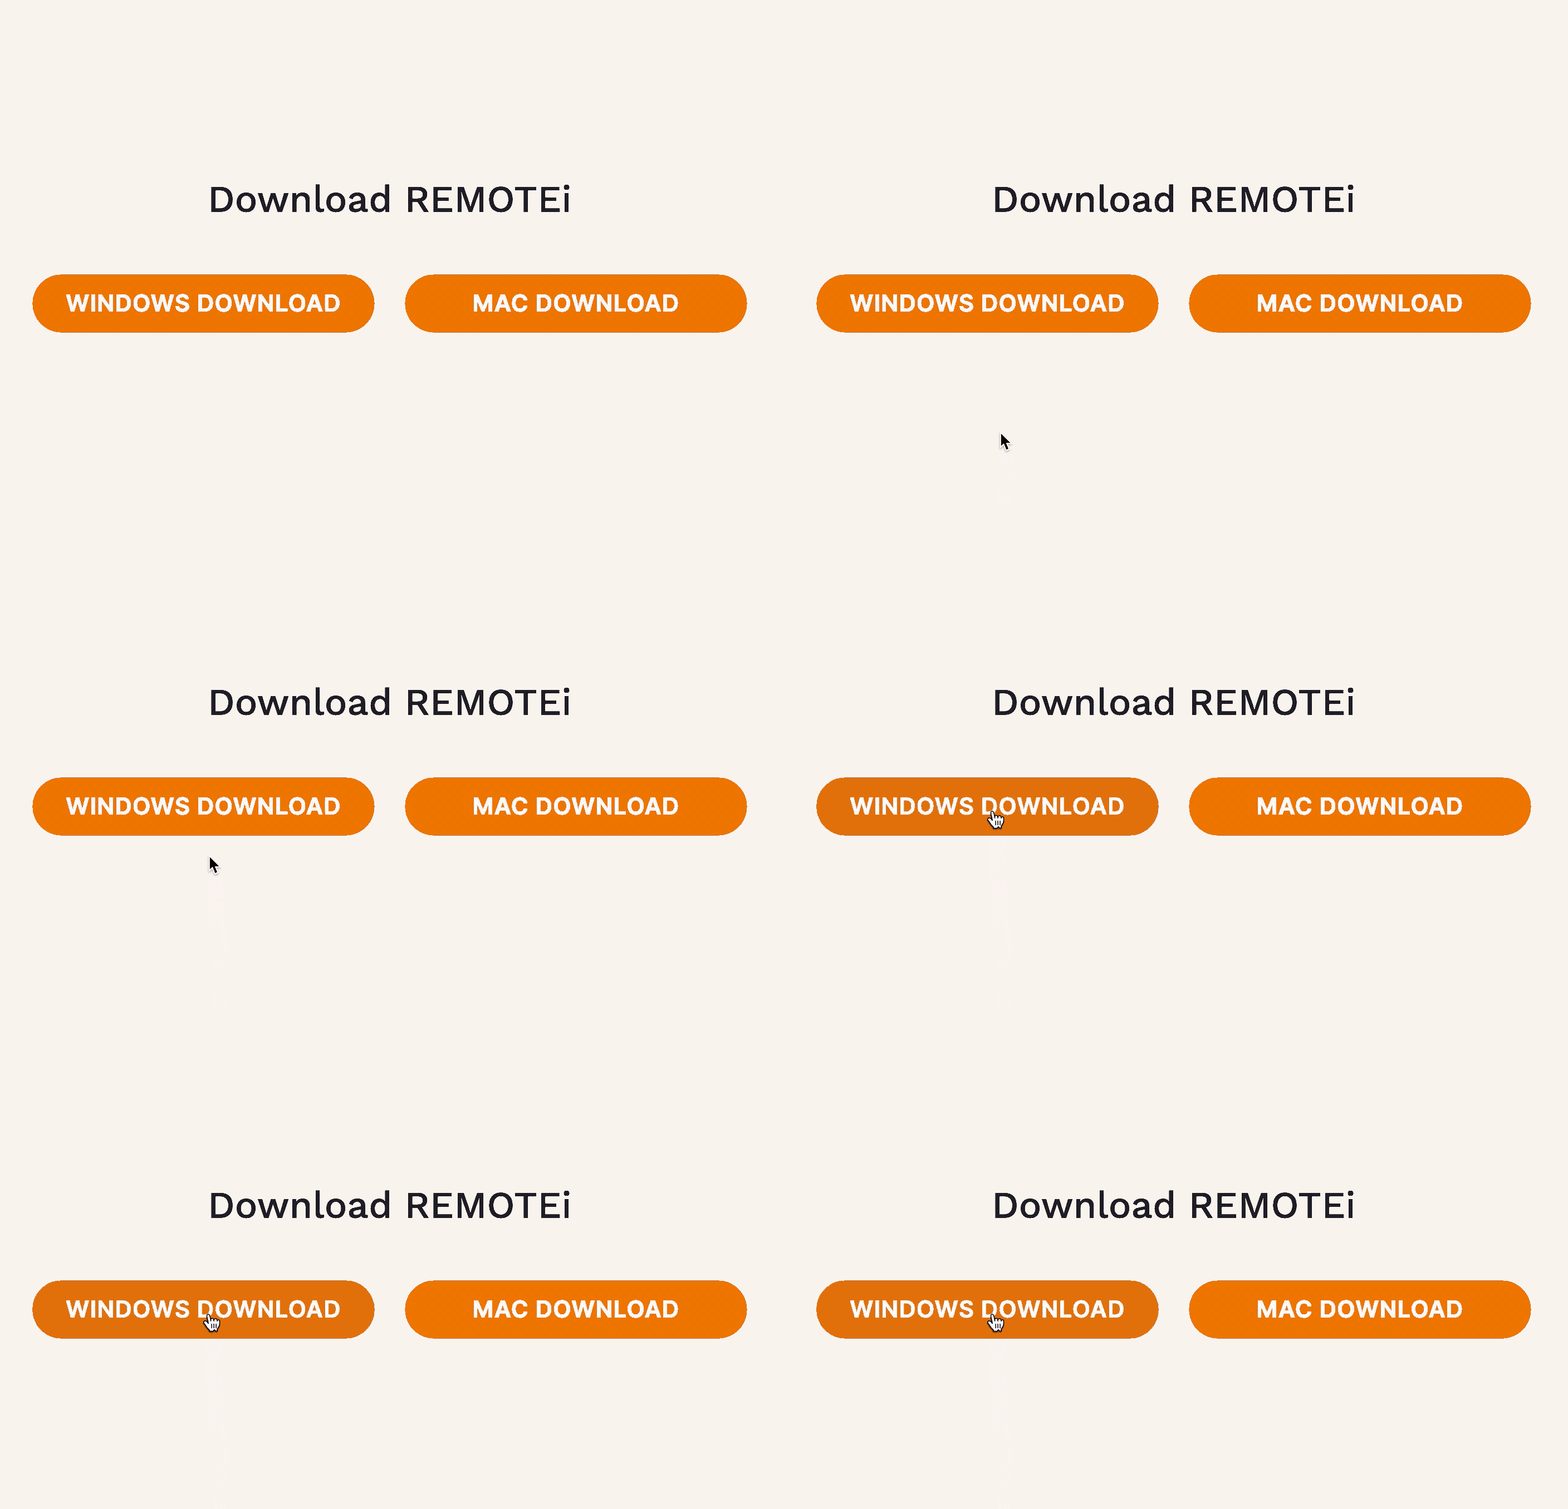
Download REMOTEi
It’s just a one-click download and then launch the application.
![]()
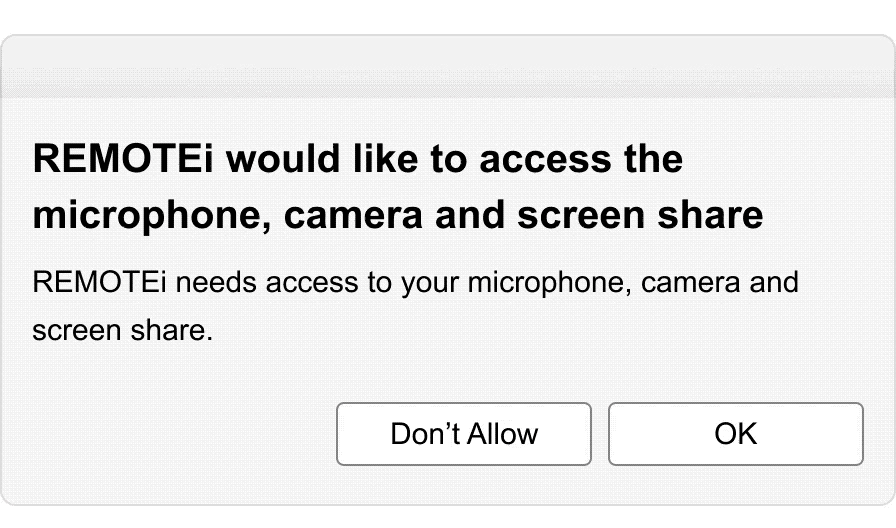
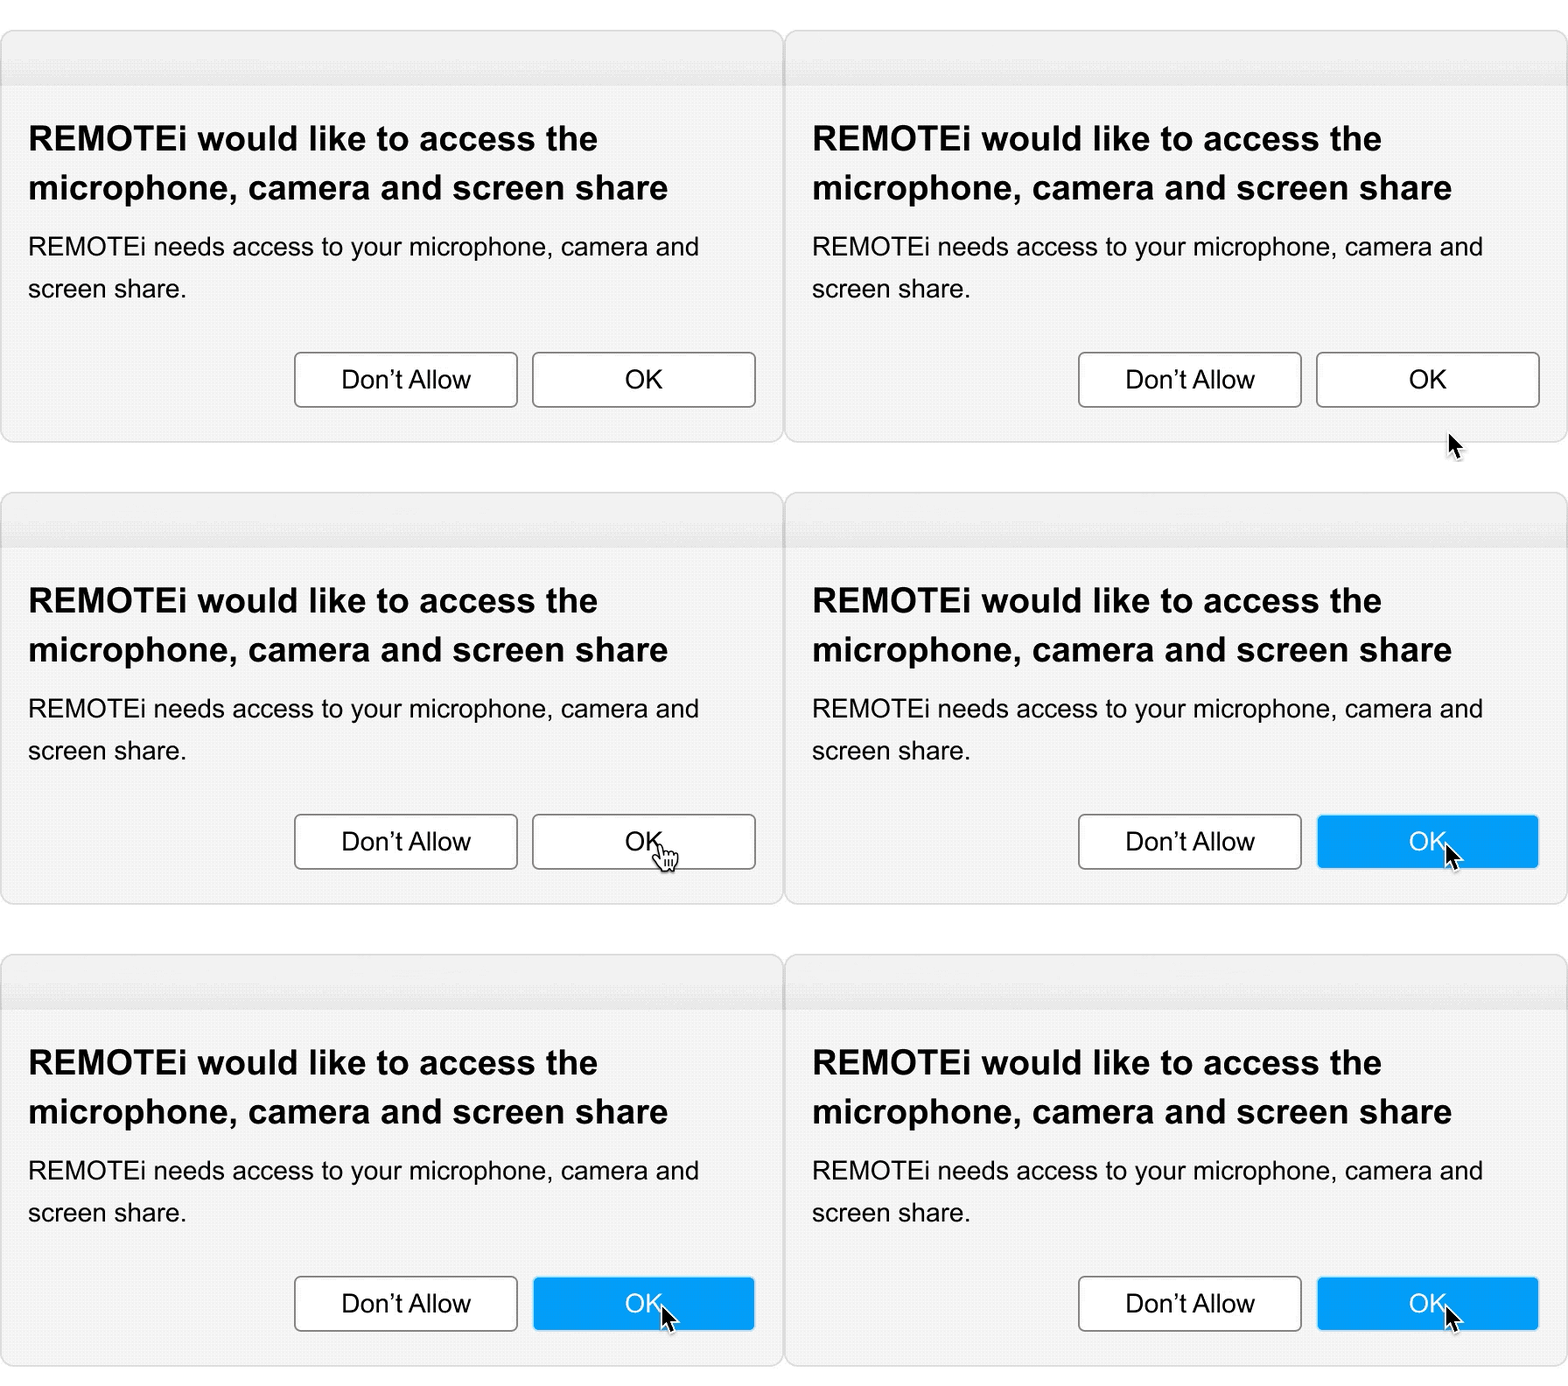
Perform a system check & Give Permissions
Begin check-in & submit your credentials
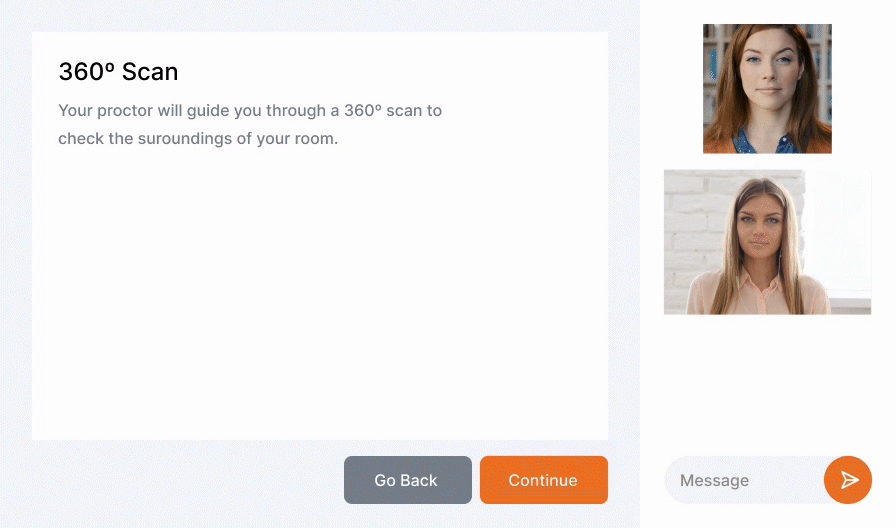
While you’re waiting, ensure your testing area meets the standards for your exam. Your proctor will be conducting a 360-degree scan of your testing area; so remove any unallowed items from the room at this time.
Also, the next step is your check-in process, so be sure to have the appropriate ID ready.
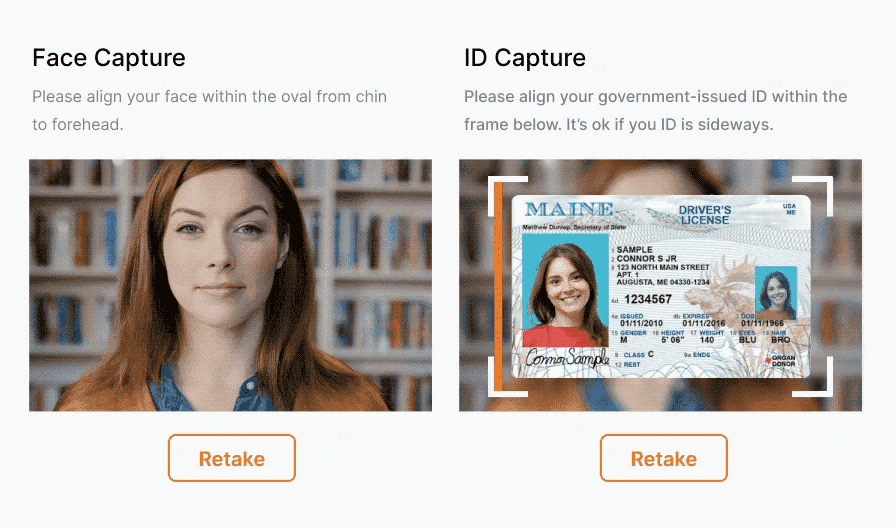
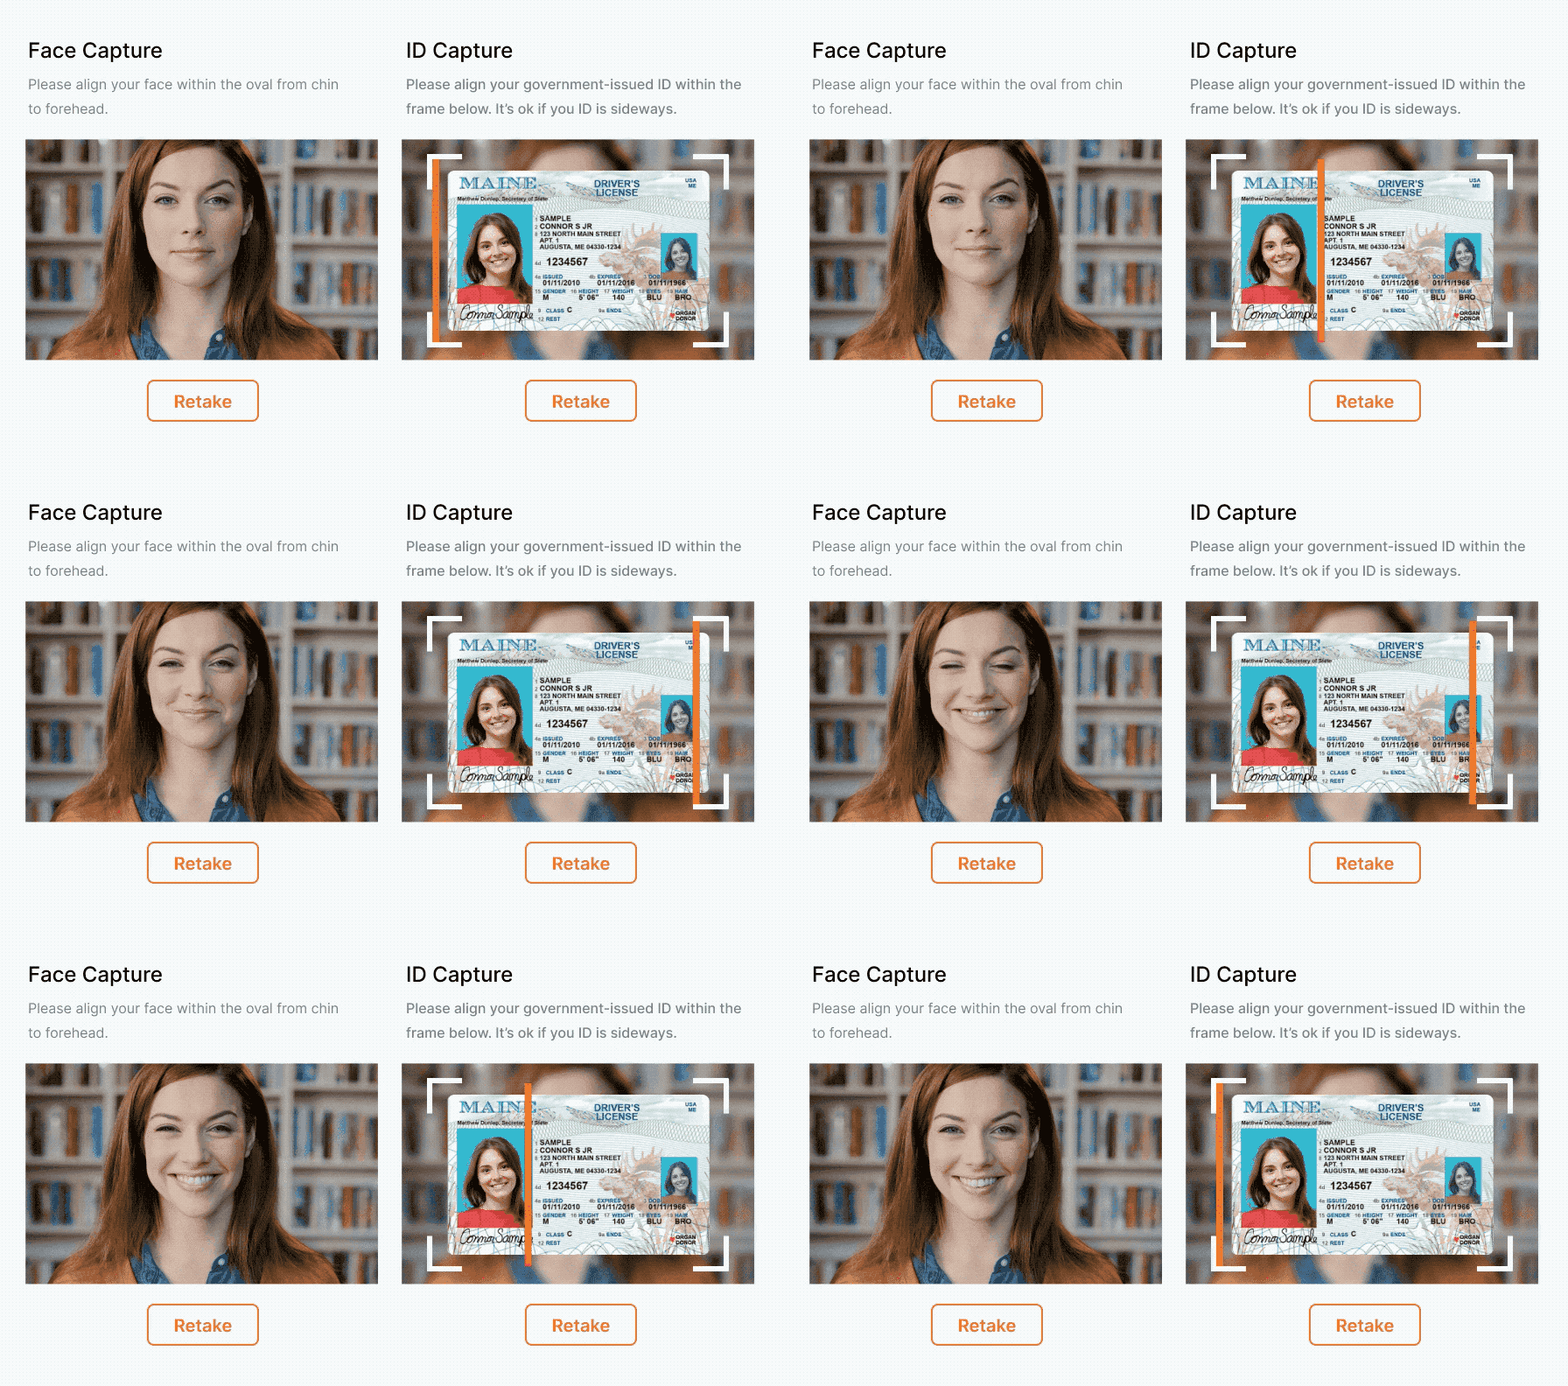
Meet your proctor and begin check in.
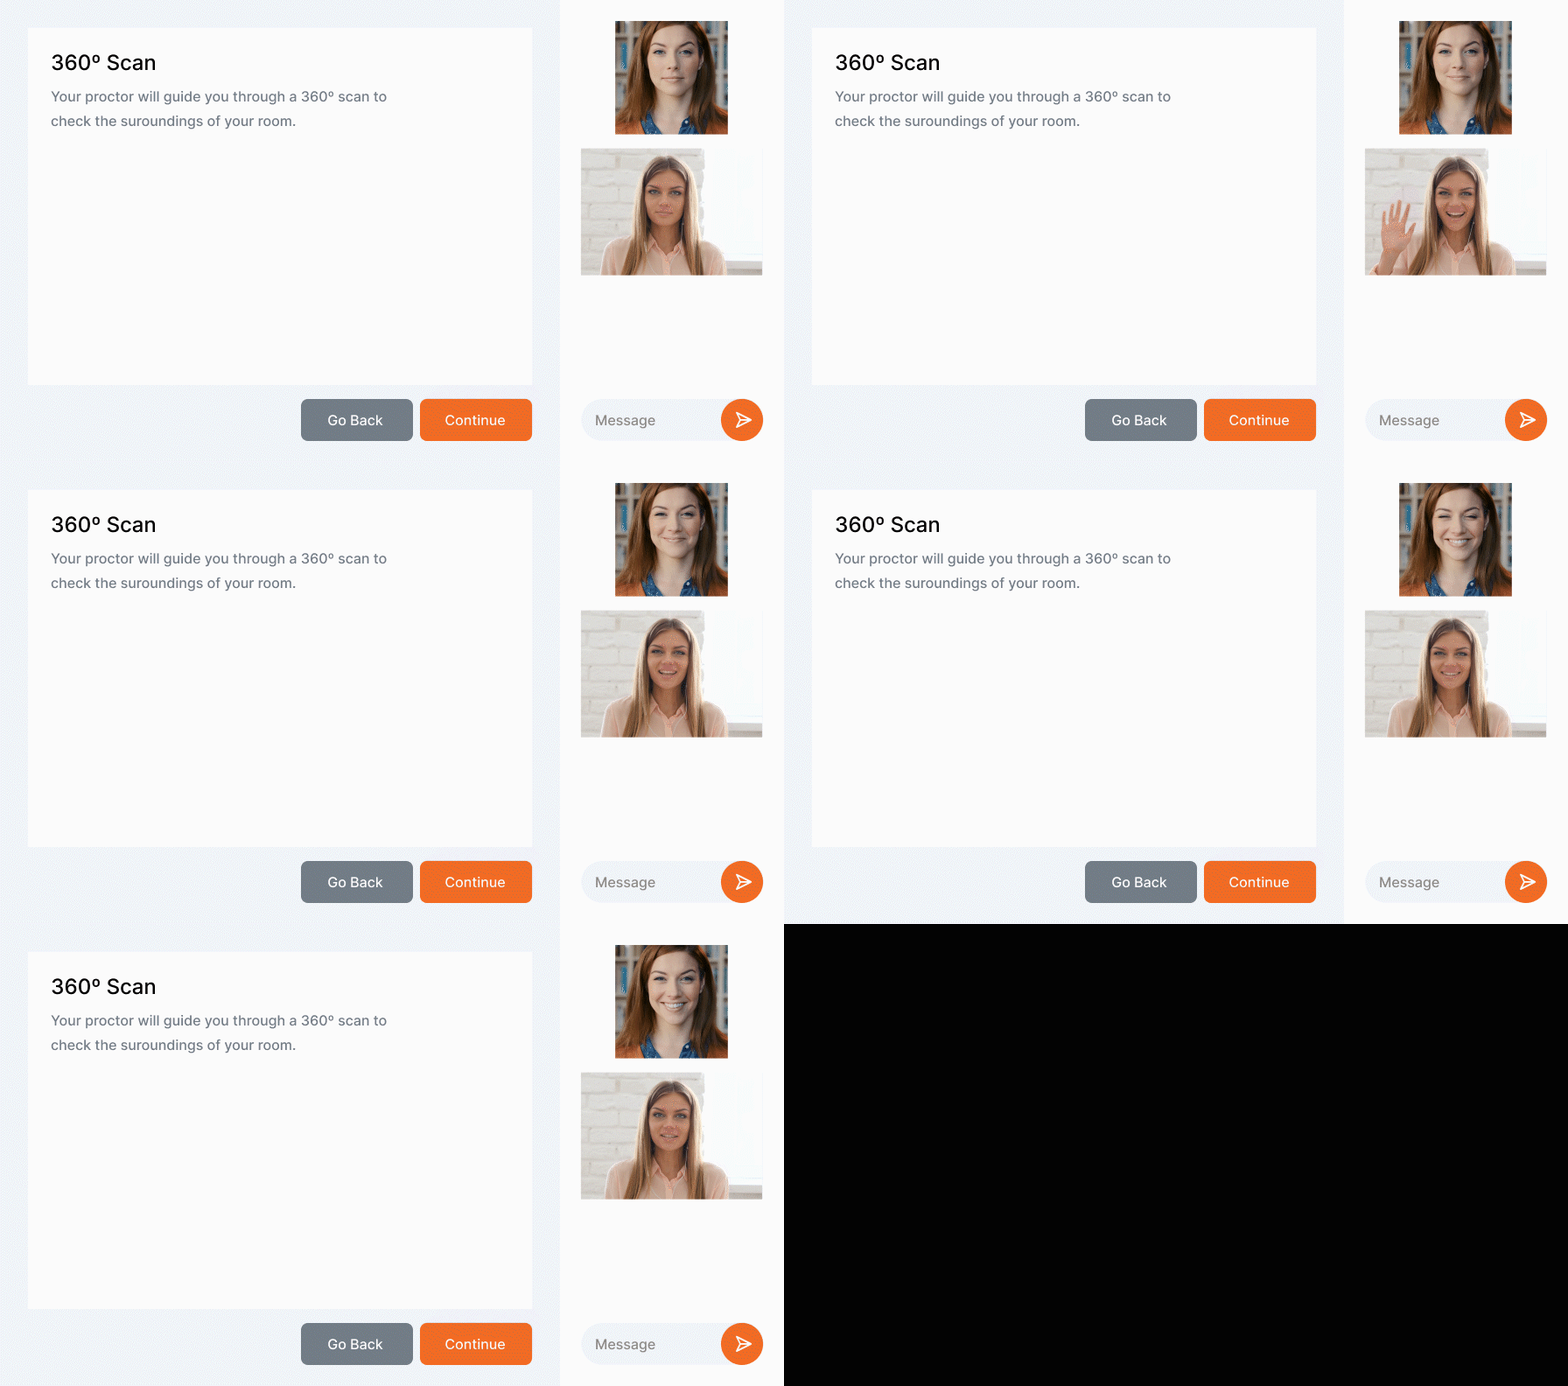
Next, you’ll meet your proctor who will walk you through the check in process, including a 360-degree scan of your room and the validation of your ID.
After that, you’ll wait until others are finished checking in and your test will begin shortly after.
Best of luck!
Start your test
You should now start seeing the first screen of your exam from your particular testing or educational institution. Your exam is about to begin. If you need any assistance during your exam, your proctor is just a click away.
You worked hard for this moment. We wish you all the best.
Still need help?
If you’re in the application, just contact your proctor directly. If you’re having issues with REMOTEi or can’t access your proctor, send us a message below.
Our support team is standing by to assist.

